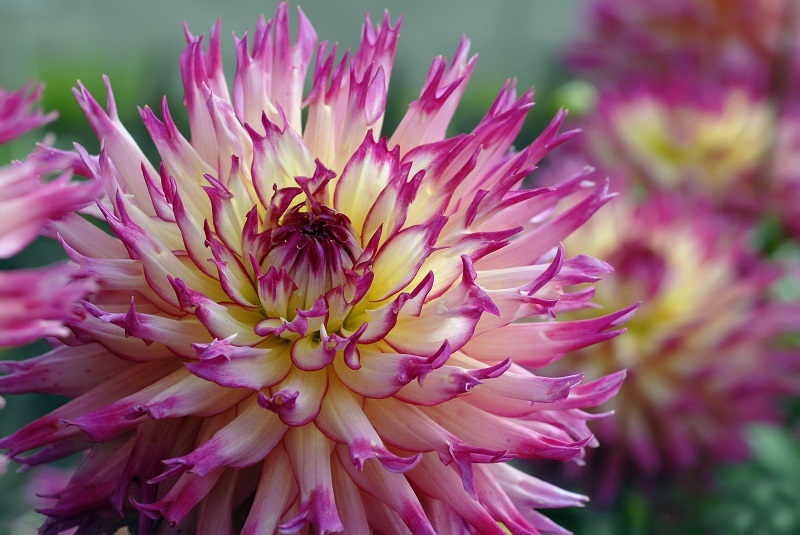
Orchids are renowned for their exquisite flowers and diverse species, making them a beloved choice for many plant enthusiasts. However, for orchids to thrive, periodic repotting is essential. This guide delves into the nuances of orchid repotting, providing you with the knowledge and confidence needed to maintain healthy and flourishing plants.
Why Repotting Orchids is Important
Repotting orchids is crucial for several reasons:
- Removing Dead Roots: Repotting allows you to inspect and remove any dead or decaying roots, ensuring that only healthy roots remain.
- Fresh Medium: Over time, the potting medium breaks down, degrading its ability to provide adequate aeration and drainage. A fresh medium revitalizes the plant.
- Space for Growth: Orchids grow, and so do their roots. Repotting into a larger container provides necessary space for expansion.
- Disease Prevention: Old medium can harbor pests and diseases. Repotting minimizes these risks by providing a clean environment.

When to Repot Your Orchid
The best time to repot an orchid is after it has finished blooming and begins to produce new growth. Generally, you should aim to repot orchids every one to two years. However, there are specific signs indicating it's time to repot:
- Medium Breakdown: The potting medium looks decomposed and retains too much moisture.
- Root Bound: Roots are growing outside of the pot or are densely packed inside the container.
- Poor Plant Health: Yellowing leaves or visible signs of root rot or pest infestation.
Materials Needed for Repotting
Before you start, gather the following materials:
- Pots: Choose orchid-friendly pots with ample drainage holes. Clear pots are preferred as they allow you to monitor root health.
- Potting Mix: Use a specialized orchid mix - often consists of bark, sphagnum moss, charcoal, and perlite.
- Pruning Shears: To trim dead roots and old flower spikes.
- Alcohol or Bleach Solution: To sterilize tools and prevent the spread of disease.
Steps for Repotting Orchids
Step 1: Prepare the New Potting Mix
Soak the new potting mix in water for about an hour before repotting. Moistening the medium ensures it provides adequate hydration and stability for the orchid.
Step 2: Remove the Orchid from Its Current Pot
Gently remove the orchid from its current pot. If it's stuck, you might need to squeeze the pot or use a sterile tool to loosen the roots.
Step 3: Clean the Roots
Carefully remove the old potting medium from around the roots. Rinse the roots under lukewarm water to eliminate any remaining debris.
Step 4: Trim Dead or Damaged Roots
Inspect the roots. Healthy roots are typically firm and white with green tips. Trim any dead, brown, or mushy roots using sterilized pruning shears. This step is crucial in preventing disease.
Step 5: Place the Orchid in the New Pot
Position the orchid in the new pot, spreading the roots as evenly as possible. Ensure the plant is at the same depth as before. Hold the orchid in place and gently fill the pot with the pre-moistened potting mix, ensuring it's well-distributed around the roots.
Post-Repotting Care
Immediately after repotting, it's important to give your orchid the proper care to ensure a smooth transition:
- Avoid Watering: Wait about a week before watering your newly repotted orchid. This helps any cut roots to callous, reducing the risk of rot.
- Optimal Light: Place the orchid in a spot with bright, indirect sunlight. Avoid direct sun, as the plant may be more sensitive post-repotting.
- Humidity and Air Circulation: Maintain a humid environment and ensure good air circulation around the orchid.

Common Issues and Troubleshooting
Even with the best care, problems can arise. Here are some common issues and how to handle them:
Issue: Wilting or Yellow Leaves
Solution: This could be due to overwatering, underwatering, or poor humidity. Check the moisture level of the potting mix and adjust your watering schedule accordingly. Increase humidity if necessary.
Issue: Root Rot
Solution: If you suspect root rot, remove the orchid from the pot, trim affected roots, and repot in fresh mix. Ensure you're not overwatering and that the pot provides adequate drainage.
Issue: No New Growth
Solution: Orchids might need a resting period before showing new growth. Ensure your plant is getting the right amount of light, temperature, and humidity.
Conclusion
Repotting orchids may seem daunting at first, but with the right knowledge and approach, it becomes a routine aspect of orchid care. Regular repotting ensures your orchid remains healthy, vibrant, and ready to produce beautiful blooms year after year. By understanding the importance of timing, materials needed, and proper technique, you can confidently maintain your orchids' health and encourage continued growth and flowering. Happy gardening!

